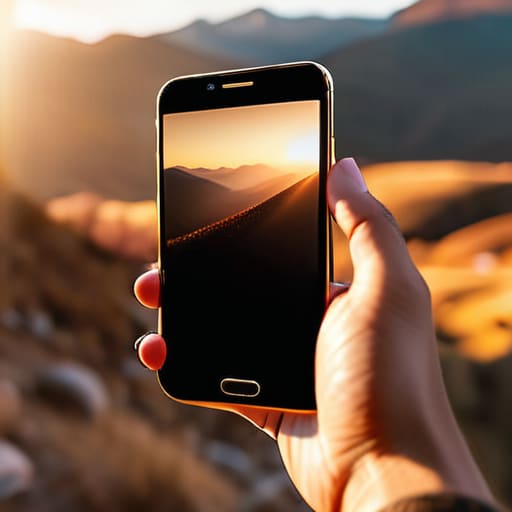
Ever feel like you’re staring at a gorgeous sunset or a perfectly latte-arted coffee, only to snap a picture that looks… well, kind of sad? You know the feeling—you’re trying to capture a vibe, but your screen shows a blurry, washed-out mess that doesn’t do the moment justice. It’s so frustrating when you realize you don’t need a thousand-dollar DSLR setup to fix this; honestly, learning how to take better phone photos is less about the gear and more about a few tiny shifts in how you see the world.
I’m not here to bore you with technical jargon or suggest you spend your entire paycheck on fancy lenses. Instead, I want to share the simple, actionable hacks I’ve picked up from years of documenting my own chaotic, colorful life. We’re going to focus on the low-effort, high-impact tweaks—like lighting tricks and basic framing—that will make your feed look intentional rather than accidental. Let’s cut through the noise and get your photos looking actually amazing without adding more clutter to your busy schedule!
Table of Contents
- Mastering Mobile Photography Composition Rules for Beautiful Shots
- A Quick Smartphone Camera Settings Guide for Busy Bees
- 5 quick wins for your next snap: Pro tips for busy lifestyles
- Quick wins for your next photo op
- ## A little perspective goes a long way
- You've Got This!
- Frequently Asked Questions
Mastering Mobile Photography Composition Rules for Beautiful Shots
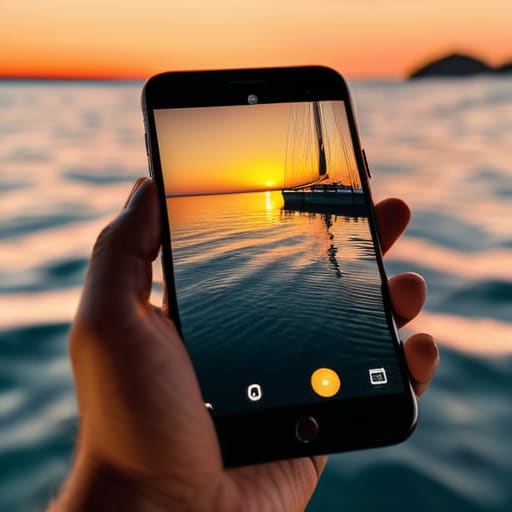
Now, let’s talk about the “secret sauce” that turns a quick snap into a stunning memory: composition. You don’t need a fancy DSLR to make an image pop; you just need to know a few mobile photography composition rules. My absolute favorite is the Rule of Thirds. If you head into your camera settings and turn on the grid lines, you’ll see two horizontal and two vertical lines. Instead of plopping your subject right in the dead center—which can feel a little static—try placing them along those lines or at the intersections. It instantly adds a sense of balance and professional polish to your shots!
Another trick I love for adding depth is looking for “leading lines.” Think about a sidewalk, a fence, or even the edge of a table that draws the eye toward your subject. It creates a visual path that makes the viewer feel like they’re actually inside the moment with you. When you combine these structural tweaks with a little bit of intentionality, you’ll find you’re significantly improving mobile image quality without even touching a single filter. It’s all about how you frame the world!
A Quick Smartphone Camera Settings Guide for Busy Bees
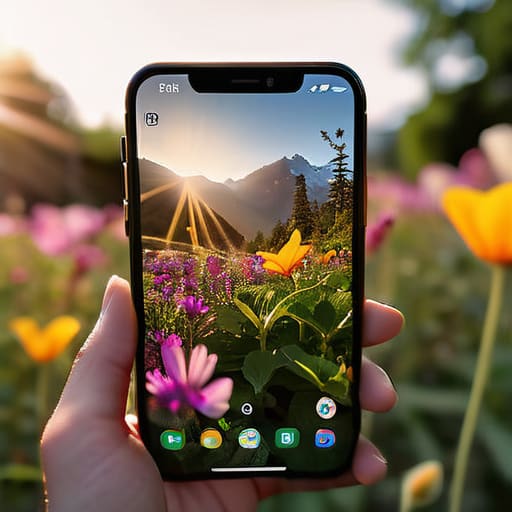
Now, let’s dive into the techy bit—but don’t worry, I promise it won’t feel like a lecture! Most of us just point and shoot, but a few tiny tweaks in your smartphone camera settings guide can make a massive difference in your results. First things first: go into your settings and make sure your camera is set to the highest resolution possible. It sounds simple, but I’ve seen so many people miss out on crisp details just because they were running on a lower default setting. Also, if you’re a fan of that dreamy, blurred background look, try using portrait mode effectively by ensuring you have enough distance between your subject and the backdrop.
Another pro tip for my fellow multitaskers? Turn on the “grid lines” in your settings. It’s a total game-changer for keeping your horizons straight without having to overthink it. While we’re at it, always tap your screen on the brightest part of the image to lock your exposure. This little trick is a lifesaver for improving mobile image quality, especially when you’re dealing with tricky, uneven light. It only takes a second, but your future self (and your Instagram feed) will definitely thank you!
5 quick wins for your next snap: Pro tips for busy lifestyles
- First things first—clean that lens! I know, it sounds silly, but between fingerprints and pocket lint, our phones get so smudgey. Just a quick wipe with your soft shirt or a microfiber cloth makes a world of difference in getting rid of that weird, hazy glow.
- Chase the light (but avoid the harsh stuff): Natural light is your best friend. If you’re shooting indoors, try to head toward a window. If you’re outside at midday, look for a little bit of shade so you don’t end up with those super harsh, unflattering shadows on your subject.
- Tap to focus and expose: Don’t just point and shoot! Tap the screen right where you want the focus to be. Once that little yellow box pops up, you can usually slide your finger up or down to adjust the brightness. It gives you so much more control over the “vibe” of the photo.
- Use the volume button: Sometimes holding the screen to snap a photo makes the phone wobble, especially if you’re trying to get a steady shot. Try using the physical volume buttons on the side of your phone instead—it feels much more like a real camera and keeps things steady!
- Don’t fear the edit (keep it subtle!): A tiny bit of post-processing goes a long way. I love using simple apps to tweak the warmth or contrast just a touch. The goal isn’t to make it look fake, just to make those colors pop a little more so they match the memory!
Quick wins for your next photo op
Don’t forget the golden rule of cleanliness—give your lens a quick wipe with a soft cloth before you snap; it’s a tiny habit that instantly clears up any fuzziness!
Use those composition rules we talked about, like the rule of thirds, to turn a basic snapshot into a shot that actually tells a story.
Stop overthinking your settings and just master the basics; once you know your camera’s sweet spots, you can focus on the fun part instead of the tech!
## A little perspective goes a long way
“You don’t need a fancy DSLR to capture a beautiful moment; you just need to stop rushing, find the light, and remember that the best shot is usually the one that feels real, not just perfect.”
Clara Hamilton
You've Got This!
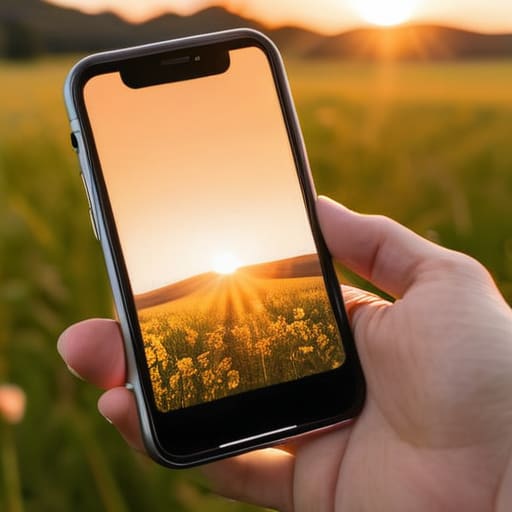
Honestly, it can feel a little overwhelming when you’re staring at a screen full of settings and rules, but remember that we’ve covered the essentials to get you moving. From mastering those composition tricks like the rule of thirds to just taking a quick second to wipe your lens clean, you now have a solid toolkit at your fingertips. You don’t need a heavy, expensive DSLR to capture something meaningful; you just need to know how to make the most of the tech you already have in your pocket. It’s all about simplifying the process so you can spend less time fiddling with buttons and more time actually living in the moment.
At the end of the day, the best photo isn’t necessarily the one with the most perfect lighting or the most professional-looking edit. It’s the one that captures a feeling, a memory, or a tiny slice of beauty that you didn’t want to forget. So, my challenge to you is this: don’t be afraid to experiment and play around! Take that shot, even if it isn’t perfect, and see where it leads you. Photography is just another way to find order and beauty in our beautiful, messy lives. Now, go out there and start snapping!
Frequently Asked Questions
What are some quick ways to edit my photos without spending hours on a computer?
Don’t worry, you definitely don’t need to be a pro editor to make your shots pop! I’m all about efficiency, so I swear by quick mobile apps like Lightroom or Snapseed. Just a few taps on the “auto” button can work wonders, and then I usually just tweak the brightness or warmth a tiny bit. It’s like color-coding my planner—just a little adjustment to bring everything into perfect focus!
I struggle with shaky hands—any tips for getting crisp shots when I'm on the go?
Oh, I feel you! I’m definitely a bit of a fidgeter myself, and shaky hands can totally ruin a great shot. My favorite trick? Use your body as a human tripod! Tuck your elbows tight against your ribs to stabilize your arms. Also, try holding your phone with both hands or leaning against a wall for an extra second of stability. It’s a tiny adjustment, but it makes a huge difference for those crisp, clear photos!
Do I really need to invest in extra lenses, or can I get great results with just my phone?
Honestly? You definitely don’t need to go overboard with expensive gear right away! Most of us are already juggling way too much, so let’s keep it simple. Your smartphone is incredibly powerful on its own. Before you drop a paycheck on extra lenses, master your lighting and composition first. Once you feel like you’ve truly hit a ceiling with what your phone can do, then—and only then—should you consider adding specialized lenses to your toolkit!
